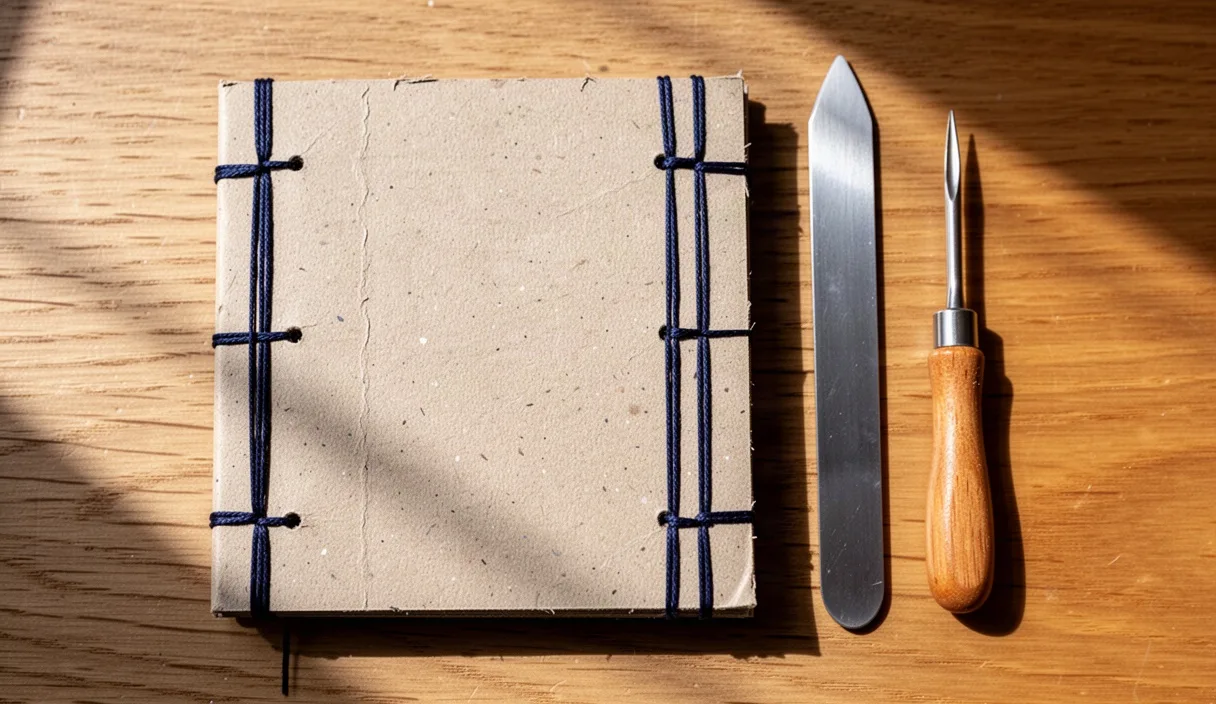
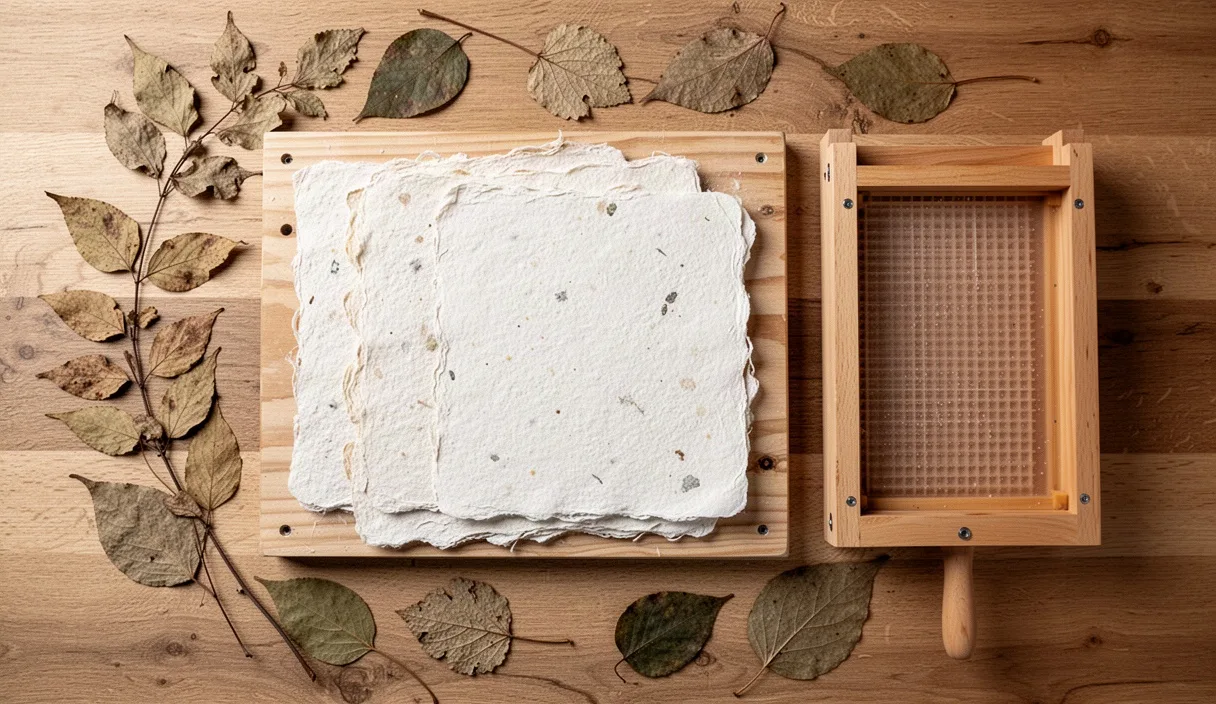

Every week, postal mail arrives with relentless predictability: utility bills, bank statements, charity appeals, and commercial notices. Most of these envelopes are manufactured from resilient softwood and hardwood bleached fibers designed to survive high-speed sorting machines and rough transit. Tossing them directly into a municipal recycling bin is common, but those same resilient fibers can be reclaimed on a kitchen counter or in a small workshop to produce thick, tactile sheets for printmaking, correspondence, or sketchbooks.
Reclaiming envelope paper is a mechanical process rather than a chemical one. By tearing the paper, soaking it to loosen the original hydrogen bonds, and dispersing it in water, you create a pulp slurry that settles across a wire screen. When pressed and dried, the cellulose fibers link together anew without the need for synthetic resins. With a tub of water, a household blender set aside solely for studio work, and a pair of wooden frames, an afternoon of discarded bills becomes a stack of durable, archival-quality paper.
Sorting Mail Scraps by Fiber Quality
Successful sheet forming begins with rigorous sorting. Envelopes are not uniform; manufacturers use various pulps, fillers, and coatings depending on the envelope's purpose. Commercial mail sorting machines demand burst resistance, so standard envelopes generally contain long virgin softwood fibers or sturdy semi-chemical pulps. However, contaminants will ruin an entire vat of pulp if they slip through the sorting stage.
Begin by cutting away plastic address windows, silicone peel-and-stick release strips, and metal clasps. Gummed seal flaps require scrutiny: moisture-activated adhesives can dissolve and create gummy patches in the final paper that will stick to drying boards or snag fountain pen nibs. Cut the gummed strip off and discard it. You can safely keep the security tint printed on the interior of billing envelopes; this carbon- or soy-based pattern breaks down during blending and gives the finished paper an even, pale granite tone.
| Envelope Variety | Fiber Characteristics | Resulting Paper Properties |
|---|---|---|
| Standard White Wove | Short-to-medium hardwood and softwood mix | Smooth surface, bright off-white, ideal for pen and ink |
| Brown Kraft Mailers | Long, unbleached softwood fibers | High tensile strength, flecked tan color, excellent for book covers |
| Security-Tint Envelopes | Bleached chemical pulp with interior print | Muted gray-blue or stone tone, uniform texture |
| Colored Promotional Mail | Dyed chemical pulp, variable filler levels | Soft pastels, slightly lower tear resistance |
Once sorted by color and type, tear the paper by hand into squares roughly 2 to 3 centimeters across. Tearing paper exposes the edge fibers, allowing water to penetrate the matrix faster than if you used scissors. Submerge the torn pieces in a bucket of warm tap water for at least 4 hours, or overnight for heavier brown kraft stock, until the paper feels limp and yields easily between your thumb and forefinger.
Blending Pulp to the Right Slurry Density
Cellulose fibers need to be separated without being pulverized. An ordinary kitchen blender will perform this work well, provided you never use that blender for food preparation again. Fill the blender jar with approximately 1 liter of clean water, then drop in a loose handful of soaked paper pieces, weighing roughly 25 to 30 grams. Overfilling the blender strains the motor and turns the fibers into a powdery mush that yields brittle, chalky sheets.
Pulse the blender 5 times for 2 seconds per pulse to break apart the large clumps. Once the motor runs freely, run the blender on medium speed for 25 to 35 seconds. Stop when the mixture looks like suspended clouds in clear water, with no visible flakes of paper remaining. If you observe tiny, distinct paper scraps floating in the liquid, pulse for an additional 10 seconds. The goal is complete fiber hydration while keeping the fiber lengths as long as possible.
Pour the blended pulp into your vat, which can be a 40-liter clear plastic storage tub filled with about 15 liters of lukewarm water. The ratio of pulp to water controls sheet thickness. For standard writing weight sheets, roughly 120 to 140 grams per square meter, you will need 4 to 5 blender batches mixed into the vat. Stir the water with your hand: the mixture should resemble thin, watery oatmeal broth. If the slurry looks thick and milky, your sheets will turn out as thick as heavy cardboard; if the liquid is nearly clear, the sheets will be fragile and tissue-thin.
Building a Basic Wood Screen and Deckle
The mould and deckle are the core tools of Western papermaking. The mould is a rigid wooden frame covered with a fine screen that catches the fibers, while the deckle is an open wooden frame of identical outer dimensions that sits flat on top of the mould to act as a temporary dam. You can build an inexpensive pair using two matching untreated pine picture frames measuring 18 by 24 centimeters.
Select frames with flat, flush faces so they sit tightly against each other without gaps where pulp can escape. Prepare the frames with the following steps:
- Apply 2 coats of water-resistant exterior wood sealer or pure tung oil to both frames, allowing them to cure completely to prevent wood warping during extended water submersion.
- Cut a piece of brass wire cloth or aluminum window insect screen (mesh size 20 to 30) approximately 2 centimeters larger than the frame dimensions. Avoid fiberglass mesh, which stretches and sags under the weight of wet pulp.
- Tightly stretch the screen over the face of one frame, securing it with stainless steel or monel staples placed every 15 millimeters. Pull the mesh taut from the center outward to eliminate ripples.
- Trim excess screen material flush with the outer frame edges and seal the staple line with waterproof duct tape or cotton twill tape to keep raw wire ends from catching on your hands.
The screened frame is your mould, operated with the flat wire side facing upward. The un-screened frame is the deckle. During sheet forming, the deckle simply rests on the mould, held firmly in place by your hands without hinges or clamps.
Pulling and Shaking the Slurry in the Vat
Forming a sheet requires a smooth, continuous sequence of movements. Stand comfortably over the vat with your feet shoulder-width apart. Agitate the slurry thoroughly with your hands to lift all settled fibers from the bottom of the tub into a uniform suspension. Position the deckle directly on top of the mould, wire side up, pressing the two frames together along their outer edges with your thumbs on top of the deckle and your fingers beneath the mould.
Hold the combined frames vertically at the back edge of the vat. Dip the front edge into the slurry at a 45-degree angle, sweeping down to the bottom of the tub and leveling the frames out beneath the water surface. Bring the mould up smoothly through the slurry, keeping it level so that water rushes through the screen evenly.
As the frame breaks the surface of the water, immediately perform the papermaker's shake. Gently shake the mould forward and backward, then left to right, all within the span of 2 or 3 seconds before the water drains through the screen. This crucial action interlocks the cellulose fibers in multiple directions; skipping this motion causes the fibers to align in one direction, producing paper that tears unevenly and curls along its grain. Hold the frame level over the vat until the water stops dripping from the underside and the glossy wet surface of the new sheet dulls into a matte texture. Carefully lift the deckle straight up, leaving a neat, wet mat of paper on the wire screen.
Couching Wet Pulp Onto Wool Felts
Couching, pronounced "koo-shing", is the transfer of the delicate, wet fiber mat from the wire screen onto an absorbent fabric support. Prepare a couching station adjacent to your vat. Lay a stiff marine plywood board on a flat surface, topped with a damp woven wool felt, a thick wool blanket scrap, or a sheet of dense synthetic craft felt cut slightly larger than your mould.
The fabric must be damp throughout; a dry felt will wick water unevenly and cause the paper to stick to the wire rather than the fabric. Hold the mould vertically, with the wet sheet facing the felt. Align the long bottom edge of the mould with the edge of the felt, resting it firmly on the surface.
- Press the bottom edge of the wooden frame into the felt with firm, even pressure.
- In one fluid, rocking motion, roll the mould face-down onto the felt so the entire paper surface contacts the textile.
- Apply downward pressure across the back of the mesh using the palms of your hands to express water and establish contact between the fibers and the fabric.
- Roll the mould upward toward the opposite edge, lifting it away. The wet sheet will release cleanly from the wire mesh and remain flat on the damp felt.
If the pulp clings to the screen, the felt is likely too dry, the pressing motion was too timid, or the mould was lifted straight up instead of rolled. Place a fresh damp felt directly over the newly couched sheet, and you are ready to couch the next sheet on top. A working stack of alternating felts and wet paper sheets is called a post.
Pressing and Flat-Drying Finished Paper
A fresh sheet of paper on a couching felt consists of approximately 80% water. Pressing compresses the fibers, forces them into intimate contact to foster strong hydrogen bonds, and expels bulk moisture before drying. Cap your assembled post with a final wool felt and a top piece of marine plywood.
Apply pressure gradually. You can stand directly on top of the board to use your body weight, or apply pairs of heavy C-clamps or ratchet tie-down straps around the plywood edges. Tighten the clamps slowly over 8 to 10 minutes, allowing the expelled water to run off into a catch tray or floor drain. Sudden, violent pressure can crush the wet paper, forcing fibers to bleed out past the original sheet margins.
After pressing, the sheets will be damp but cohesive enough to handle. Carefully peel each sheet away from its felt. There are two dependable methods for final drying:
Restraint drying produces smooth, exceptionally flat paper. Take the damp sheet and gently brush it onto a sheet of smooth acrylic plexiglass, non-porous laminate, or heavy galvanized sheet metal, using a soft, wide horsehair or goat-hair brush. Work outward from the center to eliminate air pockets. As the cellulose dries over 12 to 24 hours, it shrinks against the rigid plate, yielding one glossy face and a completely flat profile without cockling. Once dry, the paper will pop off the surface under light fingertip pressure.
Exchange drying preserves a softer, matte texture. Sandwich the damp sheets between dry cotton blotters or smooth corrugated cardboard pieces, and place a 10-kilogram weight on top. Replace the damp blotters with fresh, bone-dry blotters every 8 hours. Within 2 days, the paper will be thoroughly dry, retaining a subtle, organic grain inherited from the wool felts.
Common Mistakes
A few frequent oversights can interrupt your papermaking workflow. Review these adjustments if your results are inconsistent:
- Retaining Envelope Adhesives: Leaving the rubbery glue flaps intact leads to gummy translucent speckles on your dry sheets, which can tear bookbinding thread or stick to adjacent pages. When in doubt, trim off more envelope margins than necessary.
- Over-Blending the Pulp: Running the blender for several minutes chops the cellulose into tiny fragments rather than teasing apart whole fibers. The resulting paper will feel powdery and lack the tear strength needed for folded projects.
- Hesitating During the Shake: Shaking the mould after water has already drained through the mesh will fracture the partially formed paper layer, creating thin weak spots and pinholes across the sheet.
- Uneven Couching Pressure: Hesitating or sliding the mould sideways during the couching roll traps air bubbles and causes the sheet to tear in half, leaving half the paper on the wire and half on the felt.
Practical Next Steps
To establish a consistent studio habit, begin saving your household mail in three designated bins: clean white wove, unbleached brown kraft, and tinted security envelopes. Preparing a supply of sorted, pre-torn fiber in dry paper bags means you can start a batch whenever you have a free afternoon.
If you plan to write on your envelope paper with liquid inks or watercolor, the raw cellulose sheets will act like blotting paper unless you add sizing. You can introduce internal sizing by dissolving 15 grams of culinary gelatin or food-grade cornstarch in hot water and mixing it directly into your vat slurry before pulling sheets. Alternatively, apply a dilute gelatin wash with a wide brush to the dry, finished sheets. Test single sheets with your preferred pen, pencil, or printing technique, and adjust your pulp density and sizing levels to suit your studio needs.