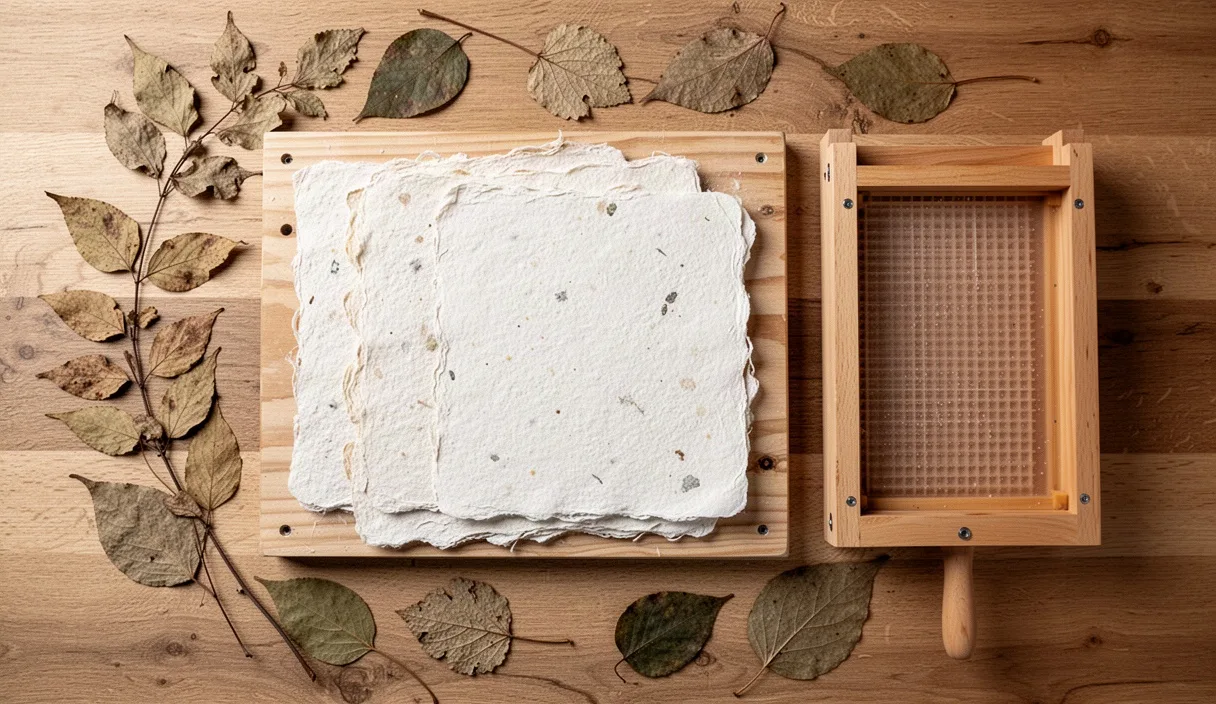
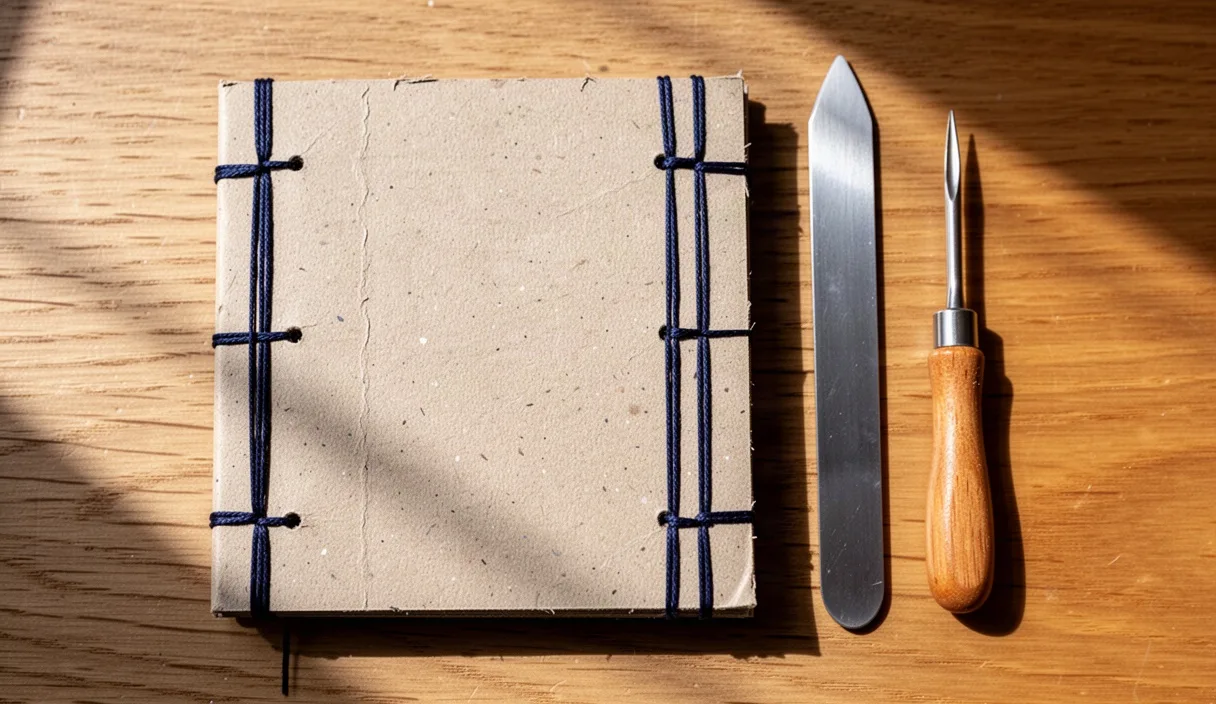

Most households generate a steady supply of stiff cardboard and half-used paper. Cereal boxes, shipping cartons, misprinted office forms, and leftover sketching sheets pile up in corners, waiting for recycling day. Rather than tossing these materials out, you can convert them into durable, lie-flat field notebooks and desk journals using a traditional Japanese stab binding method known as Yotsume Toji, or four-hole binding.
This approach requires no specialized machinery, wet glue, or heavy book presses. Stab binding anchors individual loose sheets together through punctured holes along one margin, making it the most forgiving binding style for mixed paper weights. With a simple awl, a length of linen thread, a cube of beeswax, and a craft knife, you can turn rigid packaging into an attractive and long-lasting cover in under an hour.
Trimming Scrap Paper and Cardboard Covers
Before cutting any paper, determine the grain direction of your scrap stock. Paper folds smoothly along its grain and resists or buckles across it. Bend a sheet gently in both directions; the direction with less resistance is the grain. For a notebook that turns comfortably, the paper grain must run parallel to the spine. Align your scrap paper so this grain line runs vertically from top to bottom.
Sort your internal text pages into a uniform block. A clean working thickness is between thirty and fifty sheets of standard 80 gsm copy paper, or twenty to thirty sheets if you are using mixed drawing papers. Square the stack by tapping the top and binding edges against a flat desk surface. Measure and trim your text block using an aluminium or steel safety ruler and a sharp utility blade. A practical finished size for a desk notebook is A5 (148 mm wide by 210 mm high) or a standard pocket size (105 mm wide by 148 mm high).
Next, prepare the front and back covers from reclaimed cardboard. Unlike Western case binding, Japanese stab binding exposes the edges of the book board, so your cut lines will be visible. Solid bleached sulphate board (such as tea or cracker packaging) offers a flexible, smooth face, while corrugated cardboard can compress under thread tension and is best avoided unless crushed flat along the spine. Cut your two cover boards so they match the width of your trimmed paper block exactly, or add an extra 2 mm to the top, bottom, and outer edge if you prefer recessed pages.
| Cardboard Type | Spine Compression | Durability | Cutting Technique |
|---|---|---|---|
| Cereal or Snack Box (0.5 mm) | Minimal | Moderate | Single pass with utility blade |
| Heavy Shipping Box (Corrugated) | High (Spine can crush) | Low to Moderate | Score outer liner first, compress spine |
| Greyboard / Bookbinder Board (1.5-2 mm) | None | Very High | Multiple light cuts with fresh blade |
Marking Hole Spacings with a Ruler and Jig
Accurate hole spacing prevents crooked stitching and ensures that the binding distributes mechanical stress evenly along the spine margin. Rather than measuring directly onto each notebook cover, construct a reusable card stock template jig. Cut a strip of stiff card stock to the exact height of your book block, approximately 30 mm wide. This scrap will serve as your marking guide for this notebook and any future copies of the same height.
Draw a line down the length of the jig, exactly 12 mm inward from the spine edge. This line forms your stitch margin. If your margin is narrower than 10 mm, the paper holes may tear through under repeated handling; if it is wider than 18 mm, the notebook will not open wide enough to write near the spine comfortably.
Mark four equidistant points along this 12 mm margin line using standard Japanese four-hole proportions:
- Top Hole: Place this point 15 mm down from the top edge of the jig.
- Bottom Hole: Place this point 15 mm up from the bottom edge of the jig.
- Middle Holes: Measure the remaining distance between the top and bottom holes, then divide that distance into three equal segments to establish the two intermediate hole locations. For a 210 mm notebook, the total distance between top and bottom holes is 180 mm, meaning the middle holes sit 60 mm and 120 mm below the top hole.
Punch small starter pinholes through the jig at these four marks using a divider point or a sewing needle. Place your compiled notebook sandwich (back cover, text block, front cover) flush between two binder clips, then clamp the jig squarely against the front cover. Use a sharp pencil to mark the four drilling locations through the template onto the cardboard surface.
Punching Clean Guides with a Bookbinding Awl
Punching through dense cardboard and dozens of paper sheets at once can distort the back of the book block if done without proper backing. Place a scrap piece of softwood, such as pine or cedar, underneath your clamped notebook on a sturdy work table. Never use an unsupported table edge or an old cutting mat alone, as the tip of the awl needs firm wood resistance to prevent tearing the paper fibers around the exit hole.
Position the point of your bookbinding awl directly on the first pencil mark. Hold the tool strictly perpendicular to the book surface. An angled awl causes the needle exit holes on the back cover to shift out of alignment, producing crooked stitches across the rear board. Press downward firmly while applying a gentle twisting motion, clockwise and counter-clockwise, through the paper fibers.
Work through the block gradually. If your awl has a tapered shank, push until the widest part creates an opening roughly 2 mm to 3 mm in diameter. This provides ample clearance for a blunt needle and multiple passes of heavy thread. Repeat the process for all four holes, removing the waste wood shavings from the awl tip after each puncture.
After piercing the final hole, unclamp the notebook and inspect the reverse side. If the paper has created ragged, volcano-shaped rims around the holes on the bottom cover, tap them flat using the smooth end of a bone folder or the clean handle of your awl. Re-clamp the block firmly to keep the holes precisely aligned for sewing.
Waxing Thread for Smooth Friction Control
Standard household sewing thread is too thin for Japanese stab binding; it will cut into the cardboard edge under tension. Choose a thick thread, such as 3-ply or 4-ply bookbinding linen thread, number 18 or number 25 unbleached linen, or three combined strands of cotton embroidery floss. The thread needs sufficient physical body to sit flat across the outer cardboard edge without digging channels into it.
Measure your thread length carefully. For a four-hole stab binding on an A5 book, measure roughly four times the height of the notebook spine. Cutting the thread too short leaves you unable to complete the final security knot, while excessively long thread tangles easily and loses its protective coating from friction as it passes back and forth through the holes.
Thread lubrication is critical when pulling cord through tight paper bundles. Take your measured strand and run it three times across a block of natural beeswax, pressing the cord lightly into the wax with your thumb. The thread will look rough and stiff at first.
To distribute the wax into the linen fibers, fold a scrap piece of paper over the thread and pull the entire length through the paper fold swiftly. The friction heats the wax slightly, melting it into the core of the strand. This prevents knots from slipping during tensioning, stops thread tangles mid-sew, and keeps moisture from weakening the paper contact points over time.
Executing the Four-Hole Stitch Pattern
Japanese stab binding uses an external running stitch that loops around both the spine edge and the head or foot of the book. Thread a blunt bookbinder needle (size 18 or 20 tapestry needle works well). Number the holes mentally from top to bottom as 1, 2, 3, and 4. Clamping the notebook tightly near the spine prevents the pages from shifting while your hands work the needle.
Begin by securing the thread tail inside the notebook rather than on the outer cover:
- Open the text block roughly in the middle, leaving half the paper above and half below.
- Insert your needle from the inside out through Hole 2, pulling the thread toward the front cover. Leave a loose tail of roughly 40 mm hanging between the pages inside the book.
- Bring the needle around the outside edge of the spine, then enter Hole 2 again from the back cover toward the front cover. Pull the loop snug against the cardboard edge.
- Pass the needle through the top half of the text block to reach the internal space where your loose tail sits. Tie the working thread and the loose tail together with a firm square knot. This hides the knot securely inside the book, leaving no exposed hardware on the exterior.
Return the needle to the front cover through Hole 2. Now proceed toward the top of the notebook:
- Sew through Hole 1 from front to back.
- Wrap the thread over the top edge (the head) of the notebook, then insert the needle back into Hole 1 from front to back.
- Wrap the thread around the side spine edge at Hole 1, inserting the needle once more into Hole 1 from front to back. Pull the stitches firm, keeping the thread flat and parallel.
- Bring the needle downward on the back side, inserting it into Hole 2 from back to front. The spine now has clean straight stitches connecting Hole 1 and Hole 2 on both sides.
Continue moving downward toward the bottom edge:
- Push the needle from front to back through Hole 3, wrap the spine edge, and push through Hole 3 again.
- Push the needle from front to back through Hole 4. Wrap the side spine edge and pass through Hole 4 again.
- Wrap the bottom edge (the tail) of the book, inserting the needle back into Hole 4 from front to back.
- Sew upward through Hole 3 from back to front, filling the open gap on the spine.
Corner Trimming and Final Spine Tightening
Once you exit Hole 3, you meet the initial stitch path. Every gap between holes on both the front and back covers should now show a solid bar of thread, and every hole should have an edge loop wrapping the spine. If any section looks slack, work a needle tip underneath the loose stitches from Hole 1 down to Hole 4, drawing the slack forward incrementally.
To finish the thread, pass the needle back into Hole 2 so it emerges next to your hidden knot from the opening step. Tie a second square knot around the existing interior loop. Clip the thread tails to roughly 8 mm, tuck them into the inner fold between the leaves using the flat of the awl blade, and press the book closed. The paper fibers will close around the hidden knot, keeping the exterior clean.
Inspect the cardboard corners. Reclaimed shipping boxes and packaging boards frequently have bruised or feathered corners from prior handling. Use your steel ruler and a sharp blade to nip 2 mm off each outer corner at a clean forty-five-degree angle. This chamfer prevents the cardboard from dog-earing or peeling into separate layers as you carry the book in a pocket or bag.
Cardboard can act stubborn when asked to bend open for the first time. Place your steel ruler on the front cover along the 12 mm stitch line, exactly over the thread loops. Lift the free flap of the cardboard cover against the edge of the ruler and press upward to form a clean, deliberate crease. Turn the book over and repeat this creasing action on the back cover. This hinge relief allows the cardboard to swing open cleanly without pulling directly on the stitched thread loops.
Common Mistakes to Avoid
Even with careful preparation, small structural errors can reduce the lifespan of a hand-sewn notebook. Avoid these frequent issues during the build process:
- Over-tightening the corner loops: Pulling the loops at the top and bottom edges with excessive force will pinch and buckle the corners of the cardboard cover, distorting the rectangular profile of the book.
- Punching holes without clamping: If the pages are not clamped firmly during punching, the awl pushes inner sheets sideways, creating an internal zig-zag tunnel that makes needle passes frustratingly difficult.
- Neglecting cardboard grain: If the grain of your scrap cardboard runs horizontally, the covers will resist opening and will bow outward instead of resting flat on a table.
- Using dry, un-waxed synthetic thread: Synthetic cord without wax frays during repeated pulls through rough cardboard edges and tends to loosen over time, leading to loose pages.
Practical Next Steps
Set your newly bound notebook under a heavy board or several thick books for twelve hours. This initial pressing flattens the creased spine, settles the wax-coated thread into the cardboard indentations, and evens out any minor swelling caused by handling the text block.
Once pressed, test your internal scrap paper with your preferred writing tools. If your scrap pile consists of varied paper stocks, label the back pages with pencil to record how different gel pens, fountain pen inks, or graphite grades react to the different surfaces. If a particular packaging material produces especially durable covers, save that box style specifically for your studio bookbinding stock.
From this foundational four-hole pattern, you can progress to more decorative Japanese stab bindings using identical spacing principles. Variations such as Koki Toji (noble binding, which uses double corner loops) or Asa-no-ha Toji (hemp leaf binding, which adds diagonal cross-stitches between the four primary holes) require only an updated marking jig and a longer length of waxed thread.