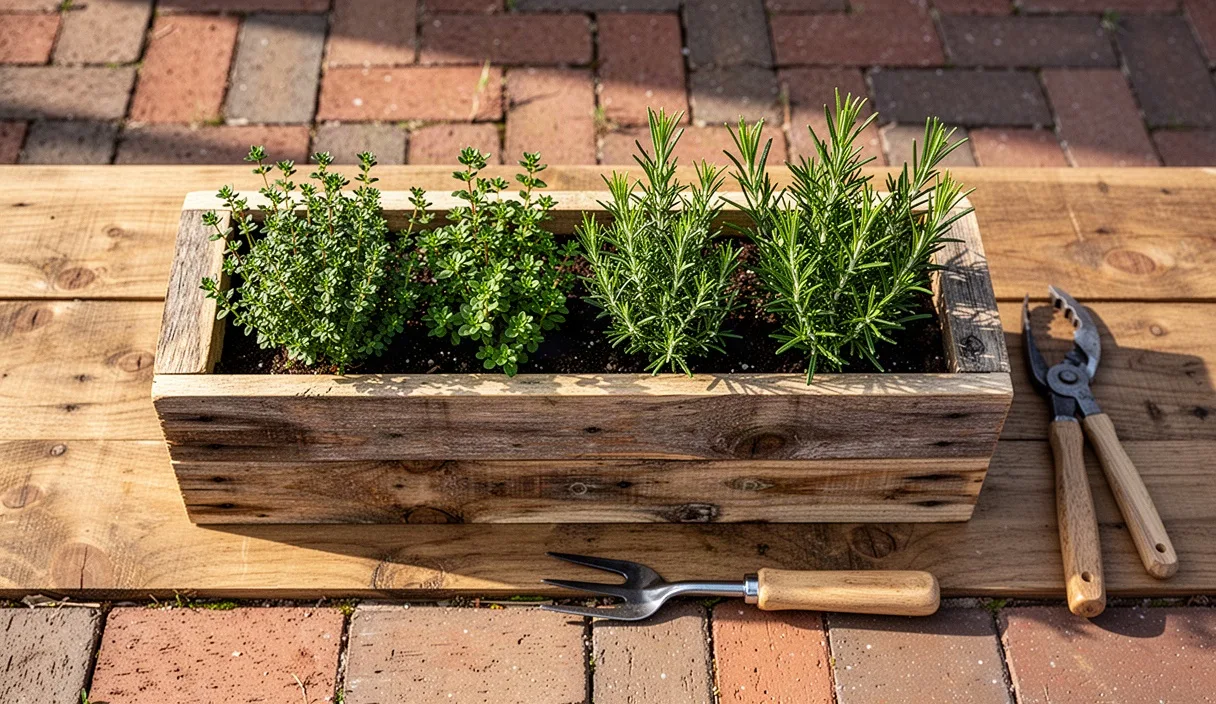

Wooden shipping pallets sit behind garden centers, light-industrial parks, and hardware stores in stacks that often end up in dumpsters. With some patient disassembly and a basic set of hand tools, those rough boards can become functional, rustic planter boxes suited for thyme, rosemary, mint, and flat-leaf parsley. Herbs do not need deep root runs to thrive, making pallet deck boards an ideal depth for small patio and windowsill containers.
Working with salvage lumber requires more care than opening a fresh bundle of milled pine from the home center. Pallet wood varies in thickness, hides hardened spiral-shank nails, and carries industrial stamps that dictate whether the timber belongs near edible plants. If you take the time to inspect the markings, strip the fasteners cleanly, and pre-drill every screw hole, you will end up with a box that survives several seasons of damp potting soil.
Reading Pallet Stamps for Garden Safety
Before loading a pallet into your vehicle, look for the official International Plant Protection Convention (IPPC) wheat stamp. This rectangular brand or stencil appears on the stringers, the thick central framing timbers that support the top slats. The stamp provides the country of origin, the timber registration number, and the treatment code applied to prevent the spread of wood-boring insects across national borders.
Pallets marked with HT were placed in a kiln and heated to a minimum core temperature of 56 degrees Celsius for at least 30 minutes. Some newer kilns reach 60 degrees Celsius to kill pathogens. HT pallets are safe for growing edible herbs because no chemical pesticides were applied during the heat run. You may also see stamps marked KD (kiln dried) or DB (debarked), both of which are fine to use. Avoid any pallet stamped MB, which indicates treatment with methyl bromide, a toxic fumigant banned in many jurisdictions but still found on older intermodal freight timber. If you plan to grow herbs commercially or have medical concerns about soil contact, consult an agricultural extension agent or certified industrial hygienist before planting.
| Stamp Code | Treatment Method | Edible Garden Safety |
|---|---|---|
| HT | Heat Treated (kiln-baked) | Suitable for herb cultivation |
| KD | Kiln Dried (moisture removal) | Suitable for herb cultivation |
| DB | Debarked (mechanical surface strip) | Suitable if paired with HT or KD |
| MB | Methyl Bromide (chemical fumigant) | Do not use for edible plantings |
| No Stamp | Unknown or domestic short-run | Do not use for edible plants |
Skip pallets with blue, red, or green paint along the stringers. These belong to pooling and rental networks like CHEP or PECO, and they remain private commercial property. They also endure heavy chemical washdowns between distribution runs. Unpainted, clean pallets made from yellow pine, oak, or poplar with a legible HT mark are the standard for yard projects.
Dismantling Boards Without Splitting Grain
Pallet factories use pneumatic nailers loaded with screw-shank or ring-shank nails. These fasteners lock into the wood fibers, and pulling them directly with a standard claw hammer usually snaps the dry deck board before the nail gives way. Taking a pallet apart takes patience, mechanical leverage, and sometimes a dedicated cutting blade.
You can choose between mechanical prying and blade cutting:
- Prying with fulcrum blocks: Slide a flat pry bar beneath a slat right next to the stringer. Slip a scrap block of 2x4 under the heel of your bar. The block changes the angle of pull from sideways to vertical, lifting the slat without crushing the grain along the edge. Work your way back and forth across the board, lifting each nail a fraction of an inch at a time.
- Reciprocating saw with a metal blade: If the wood is brittle oak or old heart pine, insert a thin bimetal blade between the deck slat and the stringer. Run the saw at medium speed to shear through the nail shanks. This leaves the nail head embedded flush in the slat, which you can leave for character or tap out backward with a nail punch.
- The dual-wedge technique: Place two wooden wedges under the board from opposite sides and tap them toward each other using a dead-blow mallet. The opposing forces drive the board straight upward without bowing the center.
Once the boards are free, inspect both faces for hidden wire staples, broken nail tips, and grit. Run a wire brush across the surface to clear away packed road dirt that blunts saw teeth. If an embedded nail refuses to move, set a steel nail punch over the pointed end on the back side and strike it firmly with a heavy ball-peen hammer to back the head out of the wood face.
Squaring and Cutting Slats to Length
Salvaged deck boards average between 3.5 inches and 5.5 inches in width, with thicknesses running from 0.5 inches up to 0.75 inches. Because the original nail holes at the outer edges of the pallet often develop checks and hairline splits, cut those damaged ends away first to reach sound lumber.
A compact, balanced planter for tabletop or deck railing use measures roughly 18 inches long, 7 inches wide, and 6 inches deep. To build this size, select your straightest boards and mark out the following parts with a pencil and a speed square:
- Four side slats at 18 inches long (forming the two-board-high front and back walls).
- Four end slats at 5.5 inches long (adjusting according to your slat width).
- Two to three base slats cut to fit inside the bottom perimeter.
- Four interior corner cleats cut from a scrap 1.5x1.5 inch spindle or stringer scrap, sized at 5 inches long.
Mark each cut line with a pencil pressed tight against the lip of your square. If you are using a manual hand saw, cut on the waste side of the pencil line, keeping your blade upright. If using a miter saw or circular saw, support both ends of the board across sawhorses so the wood does not bind and kick back as the blade finishes the pass.
Assembling Box Walls with Exterior Screws
Dry pallet wood splits easily when an unpiloted screw enters near an edge. Always drill pilot holes before fastening. Use a 1/8-inch drill bit with an integrated countersink collar. The pilot hole clears a path for the screw shank, while the countersink allows the screw head to sit flush with the rough wood face without tearing the grain open.
Choose 1-5/8 inch exterior-grade deck screws with a protective polymer coating or stainless steel screws. Drywall screws are brittle, lack rust protection, and will snap within months when exposed to damp soil and outdoor humidity.
Fasten the pieces together in this order:
- Lay two 18-inch side slats edge to edge on your workbench. Position an interior corner cleat flush with each outer end.
- Drill two countersunk pilot holes through the face of each slat into the cleat, placing fasteners roughly 0.75 inches from the board edges.
- Drive your deck screws through the slats into the cleat until the heads are flush. Repeat this process for the opposite 18-inch side wall.
- Stand the two long walls on edge and bridge the gap with the shorter 5.5-inch end slats. Drill pilot holes through the end slats directly into the exposed side of the same corner cleats.
- Check the structure with a carpenter's square across the top openings, tightening the screws to draw the corners tight.
Adding Base Supports and Drainage Vents
Herbs like thyme and oregano suffer root rot if water gathers around their base. An herb planter must drain freely within minutes of watering. A solid, air-tight wood floor will retain moisture, rot the planter, and suffocate the plants.
Fit the bottom boards inside the lower rim of the box, resting them on the ends of the vertical corner cleats, or screw them straight into the bottom edges of the wall slats. Leave a gap of roughly 0.25 inches between the bottom slats. This expansion space accommodates seasonal wood swelling while allowing excess water to run through easily.
If you prefer a tight-fitting bottom panel made from a wide board, drill a grid of six 0.5-inch drainage holes across the floor using a spade bit. Back the wood with a scrap block while drilling to prevent the bit from blowing out long splinters on the exit side.
Screw two 1-inch thick wooden runners along the bottom exterior edges of the box. These runners act as small feet that lift the planter base off the patio slab or deck floor. Elevating the planter prevents trapped puddle water beneath the wood, which dramatically slows fungal decay and keeps outdoor surfaces from staining.
Lining with Burlap for Soil Retention
While bottom gaps and holes let water leave, they also let fine potting soil wash out during heavy rain. A breathable liner keeps the growing medium intact inside the planter while letting surplus water drip away.
Untreated natural burlap made from woven jute or sisal works well for this layer. Avoid synthetic weed-barrier plastics if you want an all-natural build, though standard spunbond landscape fabric is an acceptable alternative if you already have offcuts on hand. Do not use sheet plastic, garbage bags, or vinyl shower curtain scraps, which trap standing water and create sour, anaerobic conditions around herb roots.
Cut a section of burlap roughly 3 inches wider and longer than the interior dimensions of your box. Press the fabric down into the corners, folding the excess material into neat pleats along the ends. Using a heavy-duty manual staple gun loaded with 0.25-inch or 5/16-inch galvanized staples, secure the burlap to the interior walls about 1 inch below the top edge. Place a staple every 2 inches along the rim. Trim away any frayed threads sticking above the lip with a sharp utility knife.
Common Mistakes
Watch out for these frequent oversights when constructing planters from scrap pallets:
- Skipping the stamp check: Using unknown pallets from behind chemical plants or grocery distribution centers risks soil contamination from spills or toxic fumigants.
- Omitting pilot holes: Driving screws straight into seasoned pallet oak or dense pine without a starter hole will split the wood end grain, weakening the structural corner.
- Using standard interior hardware: Bright zinc screws or framing nails rust quickly in wet soil, causing the sides of the box to pull apart under the weight of wet dirt.
- Filling with backyard clay: Heavy native garden dirt compacts inside container boxes, turning dense and choking roots. Use a lightweight potting mix blended with perlite or coarse sand instead.
- Ignoring wood movement: Forcing bottom boards tight against all four walls with zero gap causes the bottom to buckle when the wet timber expands.
Practical Next Steps
With your planter built and lined, take an afternoon to prepare it for planting. Lightly smooth the outer surfaces with 80-grit sandpaper wrapped around a wooden block to knock down sharp splinters, focusing on the top lip where your hands will touch the box. If you want to protect the wood without introducing petroleum chemicals near your culinary herbs, wipe the exterior faces with pure raw linseed oil or food-grade mineral oil.
Set the box in its permanent spot that receives at least six hours of direct sunlight daily. Fill the interior to within an inch of the burlap line using a well-draining potting soil formulated for containers. Plant Mediterranean herbs like rosemary, thyme, and sage in the sunniest section, and reserve slightly damper corners for chives and parsley. Water the newly potted plants until you see moisture dripping steadily through the burlap and out the base vents, confirming that your drainage system is working as intended.